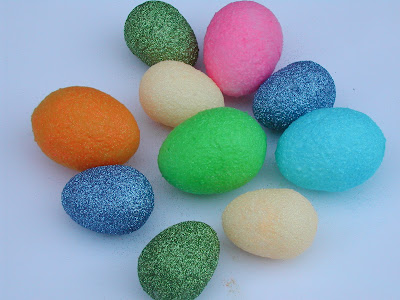
I fell in love with my last Easter craft for the year on the Sew and the City blog. They did a great tutorial on how to make glitter easter eggs and they were so cute I knew I had to make some.
I used foam easter eggs (2 different sizes), glitter (extra fine), a paint brush, wooden skewers, and a plastic cup (to dry the eggs).
All of the glitter colors were so pretty, it was hard to choose. I ended up purchasing them from Michael's and Hobby Lobby.

The first thing I did was to gently insert the skewer into the egg.
Then I covered the egg with the Tacky glue. I used the paintbrush to ensure that the egg was completely covered.
Once the glue was on, I sprinkled on the glitter. Since the glitter was so fine I ended up pouring out all the glitter then using a spoon to pour more on until the egg was completely covered.
Here is what they look like all covered in glitter.
I made the small eggs first then I did the larger eggs. When I did the larger eggs I discovered that punching holes in the bottom of the cup was a much better (and safer) way to let the eggs dry.
After about an hour or so of drying, I took the skewer out and put a dab of glue in the hole. Then I sprinkled on more glitter to cover the hole.
Here are some pictures of the completed eggs. I didn't use hairspray like the Sew and the City blog, but the glitter seems to be staying on fine. Maybe later I will give them a spritz to ensure the glitter stays in place for next year.

These eggs are so pretty and festive. I love the way they look on my dining room table.
My boys were very disappointed when they discovered that the eggs were not edible. Ry just knew he was going to bite into a pretty chocolate egg :-)

Renee


No comments:
Post a Comment